
How to Install a Wood Privacy Fence: The Build, Step by Step
A 6-foot cedar fence built the way it should last in a wet climate: posts first, boards last.

A wood privacy fence is the project most homeowners think about doing themselves, and it is within reach of someone handy with a saw, a level and a free weekend or two. This guide walks through a stick-built fence: posts set in the ground, rails between them and boards fastened on site, the way most cedar privacy fences around Seattle are built. Before the first hole, make sure the planning is done. Where the line runs, how tall the fence may be and who has to be told are covered in planning a new fence in Seattle.
What you are building
A typical 6-foot privacy fence has posts roughly every 6 to 8 feet, two or three horizontal rails between each pair of posts, and vertical boards fastened to the rails. Along the bottom, a kickboard keeps the boards off the soil. On top, an optional cap and trim board shed rain and make the fence look finished.
- Posts: 4×4 or 6×6, pressure-treated and rated for ground contact. Cedar looks right above ground but rots fastest exactly where it meets wet soil. Galvanized steel posts behind a cedar face are the long-lasting option.
- Rails: 2×4s, three of them on a 6-foot fence so the boards cannot bow between top and bottom.
- Boards: cedar pickets, butted tight or overlapped board-on-board so no gaps open when the wood shrinks in summer.
- Fasteners: hot-dip galvanized or stainless steel. Cedar's natural oils corrode plain steel and leave black streaks down the boards.
1. Call 811 and mark the line
In Washington you must request a utility locate at least two business days before you dig. The call is free, and it applies to a single post hole as much as a trench. While you wait, find the property pins, drive a stake at each end and corner, and stretch a mason's line between them a few inches off the ground. That string is your fence. Mark every post position on it with paint, measuring on center, and put gate posts exactly where the opening needs to be.
2. Dig the post holes
Dig each hole roughly three times as wide as the post. Go deep enough that about a third of the post's length is in the ground: for a 6-foot fence that usually means 8-foot posts with 2 to 3 feet buried, and deeper for gate posts. Put a few inches of gravel in the bottom so water can drain away from the end of the post. Around Seattle you may hit dense glacial till, rocks or heavy clay. Our post on fence posts in clay explains how footings change when the ground holds water.
3. Set the end and corner posts first
Set the posts at each end and corner, plumb them on two adjacent faces with a post level, brace them with stakes and scrap boards, and fill the hole with concrete. Finish the top of the concrete in a crown that slopes away from the post, so rain runs off instead of pooling against the wood. When those posts are set, run two string lines between them, one near the top and one near the ground. Every line post is then set to touch both strings, which keeps the fence straight. How to align fence panels goes into this in detail.
4. Let the concrete set, then cut posts to height
Give the concrete at least a day before you load the posts, and longer before you hang a gate. Then mark the finished height on the end posts, snap or string a line between them, and cut every post to that line. Cutting after setting is easier than trying to set every post at exactly the right height. On a slope, decide now whether the fence will step down at each post or follow the ground. Fence racking explains when each works.
5. Fasten the rails
Attach the top rail a few inches below the post tops, the bottom rail far enough up to clear the kickboard, and the middle rail halfway between. Use galvanized rail brackets or screws driven at an angle, and check each rail with a level before you fasten the second end. The rails decide whether the top of the fence looks straight from the street.
6. Add the kickboard, then the boards
Fasten a pressure-treated 2×6 or 2×8 along the bottom between the posts, sitting just on or slightly into the soil. Then hang the boards from one end, checking every third or fourth board for plumb, because small errors add up over a long run. Keep the bottoms just above the kickboard's top edge and the tops to a string line. Two fasteners per rail, per board, is the usual pattern.
7. Build the gate on its own terms
A gate is a separate structure that happens to match the fence. Build a frame with a diagonal brace running from the bottom hinge corner up to the top latch corner, so the brace holds the gate up instead of letting it drop. Hang it on heavy strap hinges from a post set deeper than the line posts. Leave about half an inch on the latch side and a little more at the hinge side so it swings freely when the wood swells in winter.
8. Finish and seal
A cap board and trim along the top protect the board ends from rain. Let new cedar dry out for a few weeks, then apply a penetrating stain. Cedar left bare weathers to silver gray, which some owners like, but the color and the protection both come from the stain. Plan to recoat every three to five years. Fence staining and sealing covers products and timing.
How long it takes
A two-person crew of experienced installers builds a straightforward 100 to 150 foot wood fence on level ground in about two to four days. A first-time builder should plan on several weekends. The digging and the posts take far longer than the boards.
When to hand it over
Steep or rocky ground, a line you are not sure of, a long run or a driveway gate are where DIY fences most often go wrong. If you would rather have it built, the fence cost calculator gives an installed price in about a minute: a 6-foot cedar privacy fence starts around $58 a foot. Every fence we build carries a lifetime workmanship warranty, and the estimate is free. Request an estimate.
More From the Blog
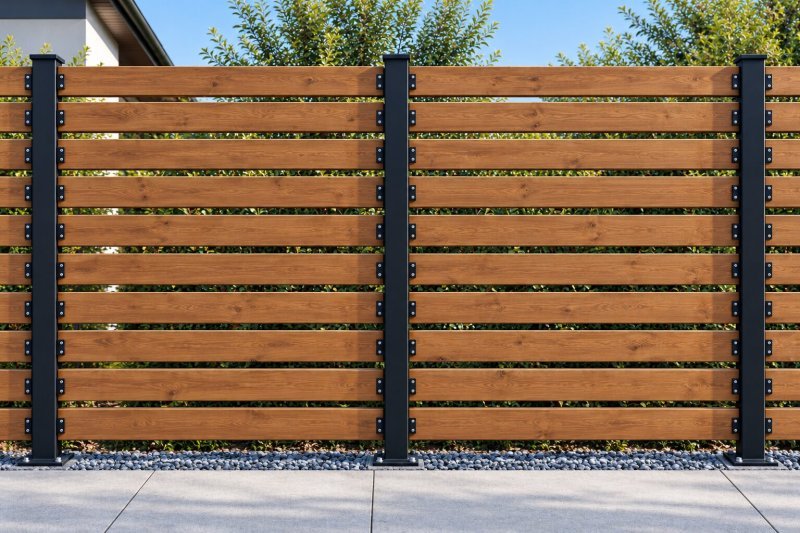 DIY & How-To
How to Align Fence Panels: Straight Lines, Even Heights, Clean Slopes
Straight fence panels start with the posts: string lines, exact spacing, cutting to height, stepping or racking on slopes, and fixing a crooked panel.
 DIY & How-To
Tools for Installing Fence Posts: The Complete Checklist
Every tool for setting fence posts, from string line and post-hole digger to digging bar, auger and post level, with what to rent and what to buy.
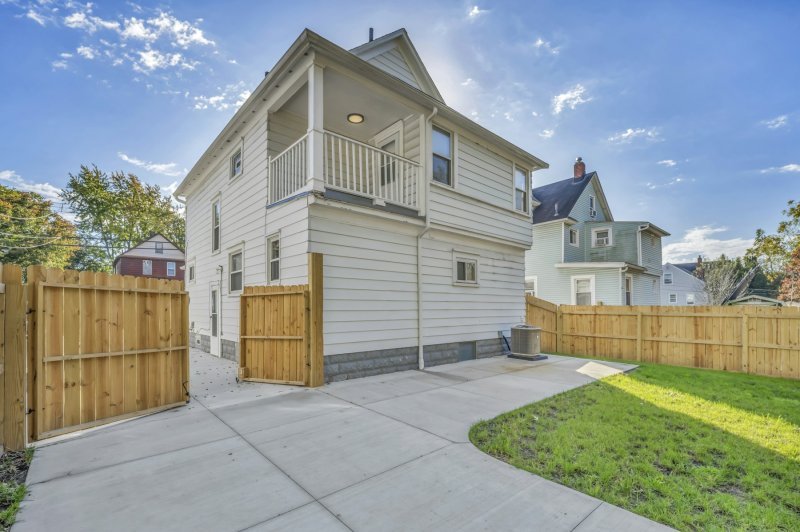 DIY & How-To
DIY Fence Installation for Beginners: Where to Start and What to Expect
A first fence, start to finish: which fence type is easiest for a beginner, the order of the work, realistic time, and when it is smarter to hire a pro.
Planning a fence?
Price it in a minute with the calculator, or send a few photos for a free written estimate.