
Tools for Installing Fence Posts: The Complete Checklist
What it takes to get posts in the ground straight, plumb and solid, sorted by job.

Setting fence posts is the hard part of building a fence, and it is mostly a question of having the right tools before you start. A post that goes in crooked or shallow cannot be fixed by careful work later. Here is everything you need, sorted by the job it does, with notes on what is worth renting.
Before you dig: layout tools
- Utility locate. Not a tool, but the first step: in Washington, call 811 at least two business days before digging. It is free.
- Stakes and mason's line. Wooden stakes at each end and corner, with bright nylon string pulled tight between them. The string is the fence line, and you will use it again to set every post.
- Tape measure or measuring wheel. A 100-foot tape or a wheel for the total run; a 25-foot tape for post spacing.
- Marking paint. An inverted-tip can to mark each hole on the ground.
- Framing square or the 3-4-5 method. For true 90-degree corners: 3 feet along one line, 4 feet along the other, and the diagonal between those marks should be exactly 5 feet.
Digging the holes
- Clamshell post-hole digger. The basic tool. It works well in loose soil and is the only way to finish a hole cleanly to depth.
- Digging bar. A heavy steel bar, 5 or 6 feet long, for breaking up hardpan, prying out rocks and cutting roots. In Seattle's glacial till it often does more work than the digger.
- Power auger (rent). Worth it for more than about ten holes. A two-person auger is safer than a one-person model when the bit catches a root or rock. Never run one before the utility marks are in.
- Round-point shovel and a pair of loppers. For starting holes, clearing sod and cutting roots the bar cannot break.
- Wet-dry shop vacuum or a bucket. Holes fill with water in a Seattle winter; you need to get it out before the gravel and concrete go in.
Setting the posts
- Post level. A small level that straps to the post and reads two faces at once. It saves a lot of checking back and forth.
- 4-foot level. For checking rails and the tops of posts.
- Braces. Scrap 2×4s or 1×4s and stakes, plus a drill and screws, to hold each post plumb while the concrete sets.
- Gravel. A few inches under each post so water drains away from its end.
- Concrete, wheelbarrow and hoe. Bagged concrete mixed in a wheelbarrow, or a fast-setting mix poured dry and wetted in the hole. A mixer is worth renting for a long fence.
- Tamping bar or a 2×4. For packing gravel and working air out of the concrete.
- Trowel. To finish the concrete in a crown that sheds water away from the post.
After the posts are in
- Circular saw or reciprocating saw. To cut posts to height once the concrete has set.
- Chalk line or laser level. To mark a single, straight cut line across every post.
- Drill-driver or impact driver. For rail brackets and screws.
- Nail gun (optional, rent). Speeds up fastening boards on a long privacy fence; use galvanized or stainless nails with cedar.
- Speed square. For square cuts on rails and boards.
Safety gear
Gloves, eye protection, hearing protection for the auger and saw, steel-toe boots and a dust mask when mixing dry concrete. Wet concrete is caustic, so keep it off your skin.
Rent or buy?
Buy the hand tools: they are inexpensive and you will use them again. Rent the auger, the mixer and the nail gun for the days you need them. Book the auger for the morning after the utility marks appear, and have your gravel and concrete on site first so the holes do not sit open in the rain.
The tool that matters most
It is the string line. Posts set to a tight string at the top and bottom make a straight fence; posts set by eye do not. The next step after the posts is in how to install a wood privacy fence, and keeping everything in line is covered in how to align fence panels.
If your line runs through rock, roots or clay that holds water, it may be quicker to have the posts set professionally. Our crews bring the auger, the bar and the experience with Seattle ground. Request a free estimate or price your fence first.
More From the Blog
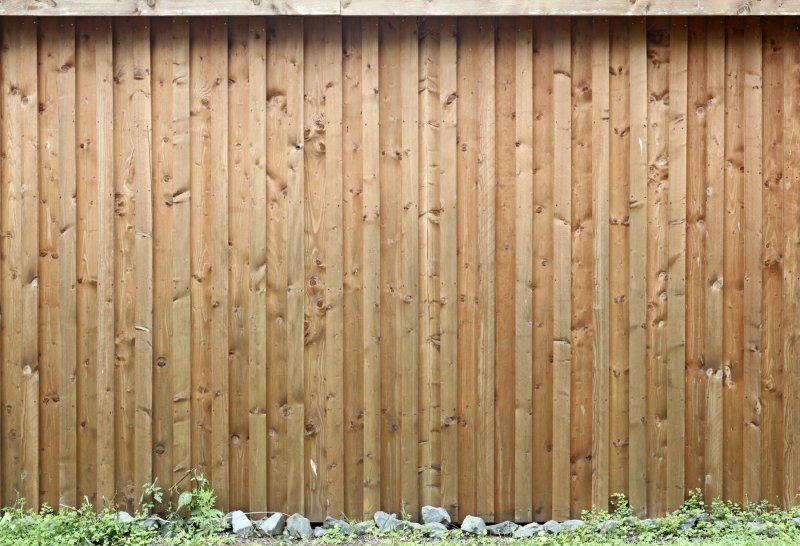 DIY & How-To
How to Install a Wood Privacy Fence: The Build, Step by Step
Layout, post holes, concrete, rails, boards and gate for a 6-foot cedar privacy fence, with the details that matter in the wet Seattle climate.
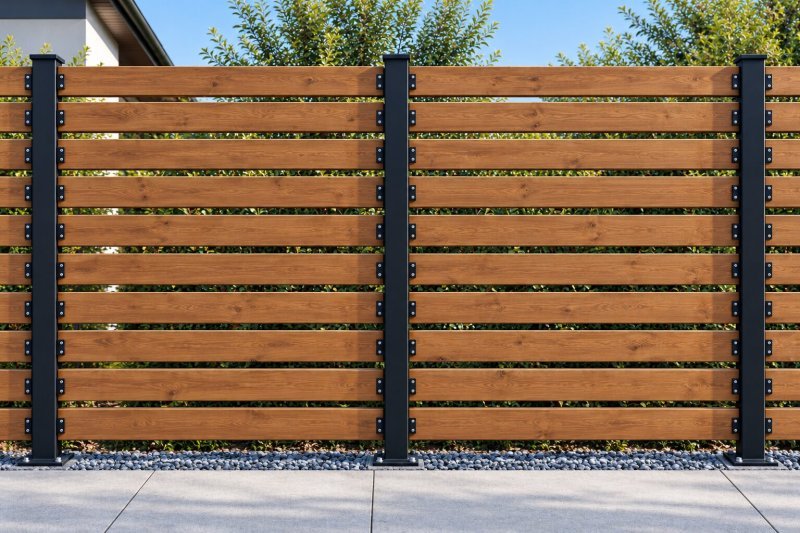 DIY & How-To
How to Align Fence Panels: Straight Lines, Even Heights, Clean Slopes
Straight fence panels start with the posts: string lines, exact spacing, cutting to height, stepping or racking on slopes, and fixing a crooked panel.
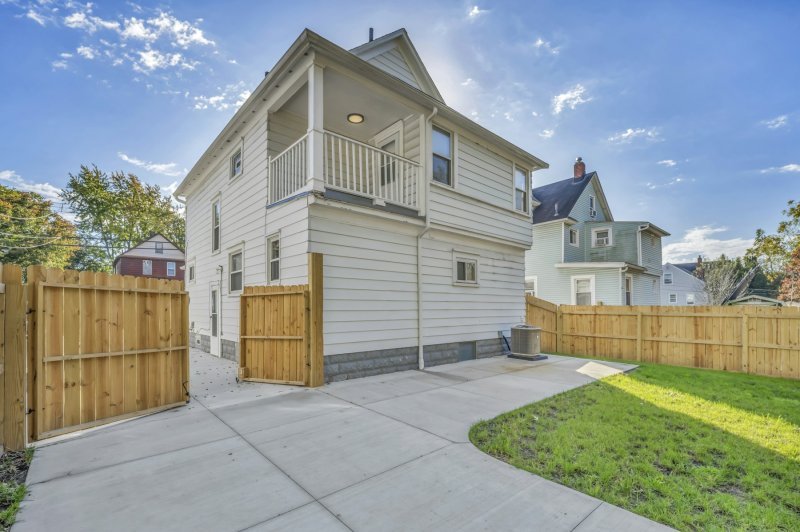 DIY & How-To
DIY Fence Installation for Beginners: Where to Start and What to Expect
A first fence, start to finish: which fence type is easiest for a beginner, the order of the work, realistic time, and when it is smarter to hire a pro.
Planning a fence?
Price it in a minute with the calculator, or send a few photos for a free written estimate.