
Planning a New Fence in Seattle: A Step-by-Step Guide
Most fence problems are planning problems. This is the order that avoids them.

A fence looks like a simple project until the posts are half in and someone asks where the property line is. Nearly every expensive surprise on a fence job can be found on paper first. Here is the order we suggest working through it.
1. Decide what the fence has to do
Privacy from a neighbor’s deck, keeping a dog in, a barrier around a pool, a tidy front yard, security for a side lot: each one points to a different height, material and gate. Write the main job down before looking at styles. If it is a dog, read dog fences; if it is a pool, the barrier has code requirements of its own, covered in pool fences.
2. Measure roughly and get a first price
Pace or tape the line, count the corners, and mark where gates go. Note slopes, retaining walls, big trees and any old fence that has to come out. That is enough for a realistic range from the fence cost calculator. As an example, 140 feet of 6-foot cedar privacy fence on level ground, with the old fence removed and one walk gate, comes out at about $11,500 to $14,400 installed.
3. Find the property line
An old fence, a hedge or the edge of the lawn is not proof of where your lot ends. Look for the survey markers at the corners, or hire a land surveyor if there is any doubt. The city will not settle it for you: Seattle’s Department of Construction and Inspections says plainly that it cannot become involved in private disputes between neighbors. More in boundary fences in Washington.
4. Check the height rules for each part of the lot
In Seattle’s Neighborhood Residential zones, fences up to 6 feet are allowed in required setbacks, but only 4 feet in the front setback and the street-side setback of a corner lot (SMC 23.44.090.H.4). Behind those setbacks you may add up to 2 feet of open trellis or arbor on top; inside them you may not. Many side fences therefore step down from 6 to 4 feet where they pass the front setback line.
Outside Seattle the numbers change from city to city. The fence height rules by city page sets out 18 of them side by side, and if you live in an HOA neighborhood, its rules can be stricter still. See HOA fence approval.
5. Talk to the neighbors before the old fence comes down
If the fence is on or near a shared line, agree on four things: exactly where it goes, which side faces whom, who pays for what, and access to their side during the build. Put any cost sharing in writing. It takes ten minutes and prevents most fence disputes.
6. Pick a material that suits a wet climate
Cedar is the local standard and is easy to repair board by board, but its posts are the weak point in wet soil; see how long a cedar fence lasts in Seattle. Vinyl, composite and aluminum trade a higher price for little upkeep, and chain link is the most economical way to enclose a large area. The materials guide for Seattle weather compares them.
7. Get measured, itemized estimates
A firm price needs the line measured on site. Ask every contractor for the same breakdown (footage, height, material, posts, gates, removal, permits and cleanup) so the estimates can be compared fairly, and check each contractor’s registration before you sign. Our article on how to check a fence contractor in Washington walks through it.
8. Locate utilities before any digging
Fence post holes are usually two to three feet deep, well past many buried lines. Washington’s dig law requires whoever digs to mark the area in white and notify 811 at least two full business days ahead. Since January 1, 2026, digging cannot start until every notified utility has responded, and the marks expire 45 days after the notice. Within 24 inches of a mark, digging is done by hand. The details are in call 811 before you dig.
811 marks the utilities’ lines, not your own. Tell your contractor about sprinkler lines, drains and power to sheds or lights.
9. Build day and the first months
A typical replacement starts with removing the old fence and its footings, then setting posts, then hanging the boards or panels and the gates. Keep pets and cars clear of the line while holes are open. New cedar is often still damp from the mill; wait until it has dried before staining. See fence staining and sealing.
10. Walk the finished fence
Before the job is closed, walk it together with the contractor:
- Every gate swings freely and latches on its own from half-open.
- The top line is even, and posts are plumb.
- The old fence, concrete and offcuts are gone.
- You have the warranty in writing.
Work through these steps and the fence itself becomes the easy part. When you are ready for a measured price, request a free estimate.
More From the Blog
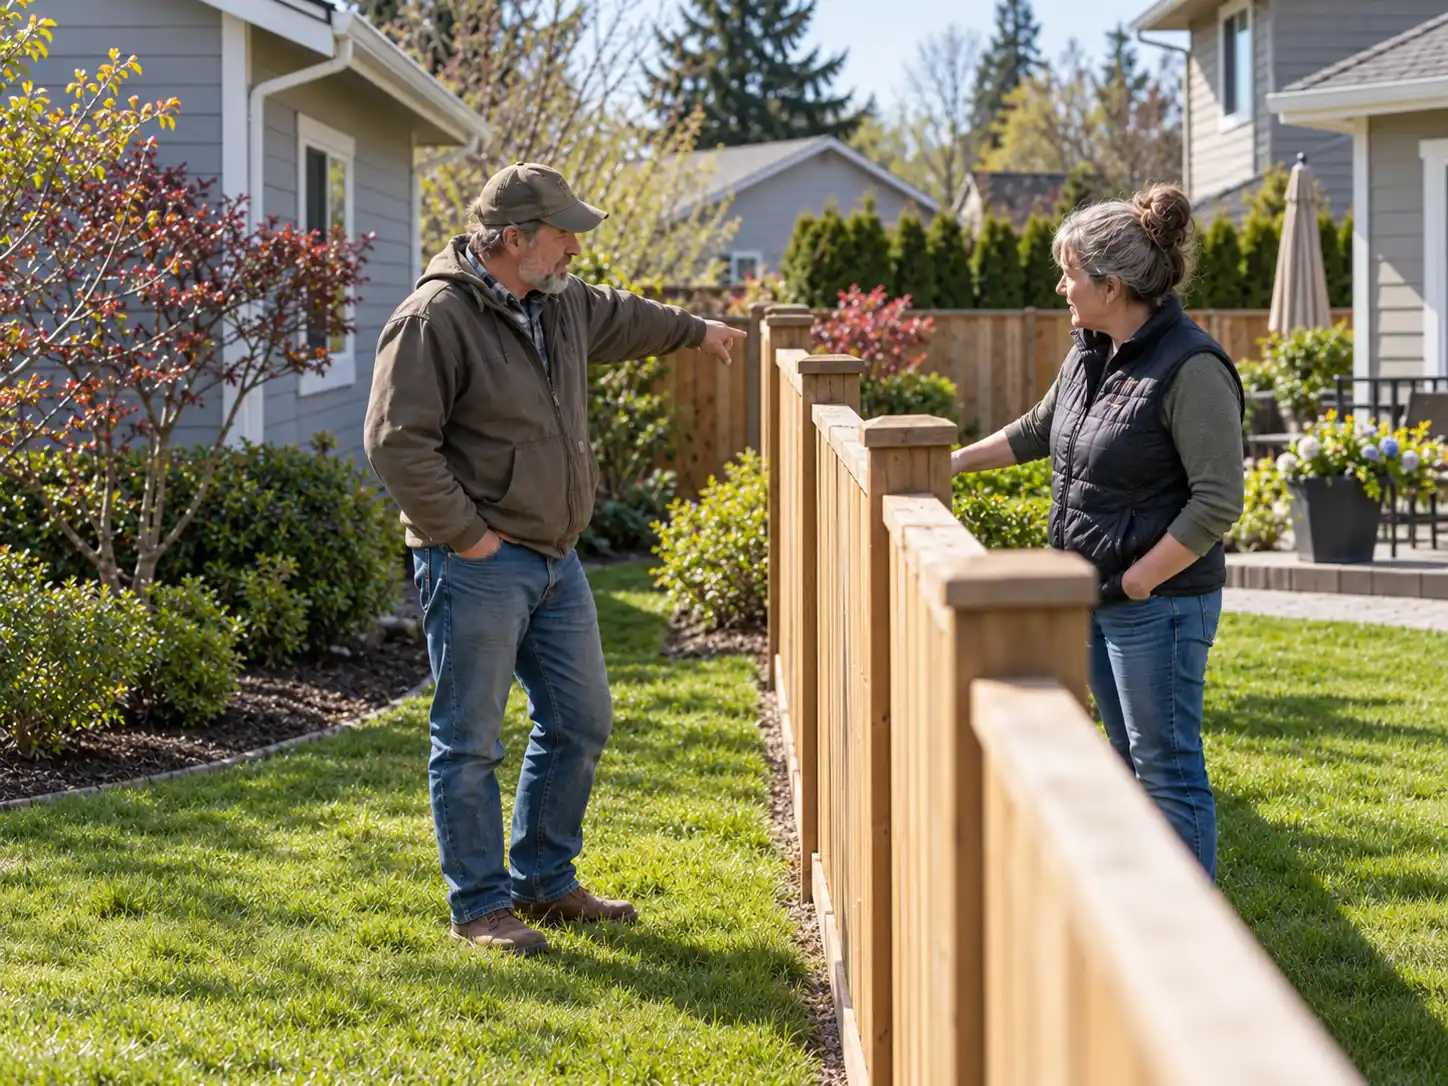 RCW 16.60.020 in plain English: splitting the cost of a boundary fence
RCW 16.60.020 in plain English: when a Washington neighbor must pay half the value of a boundary fence, when the statute is silent, and what to do first.
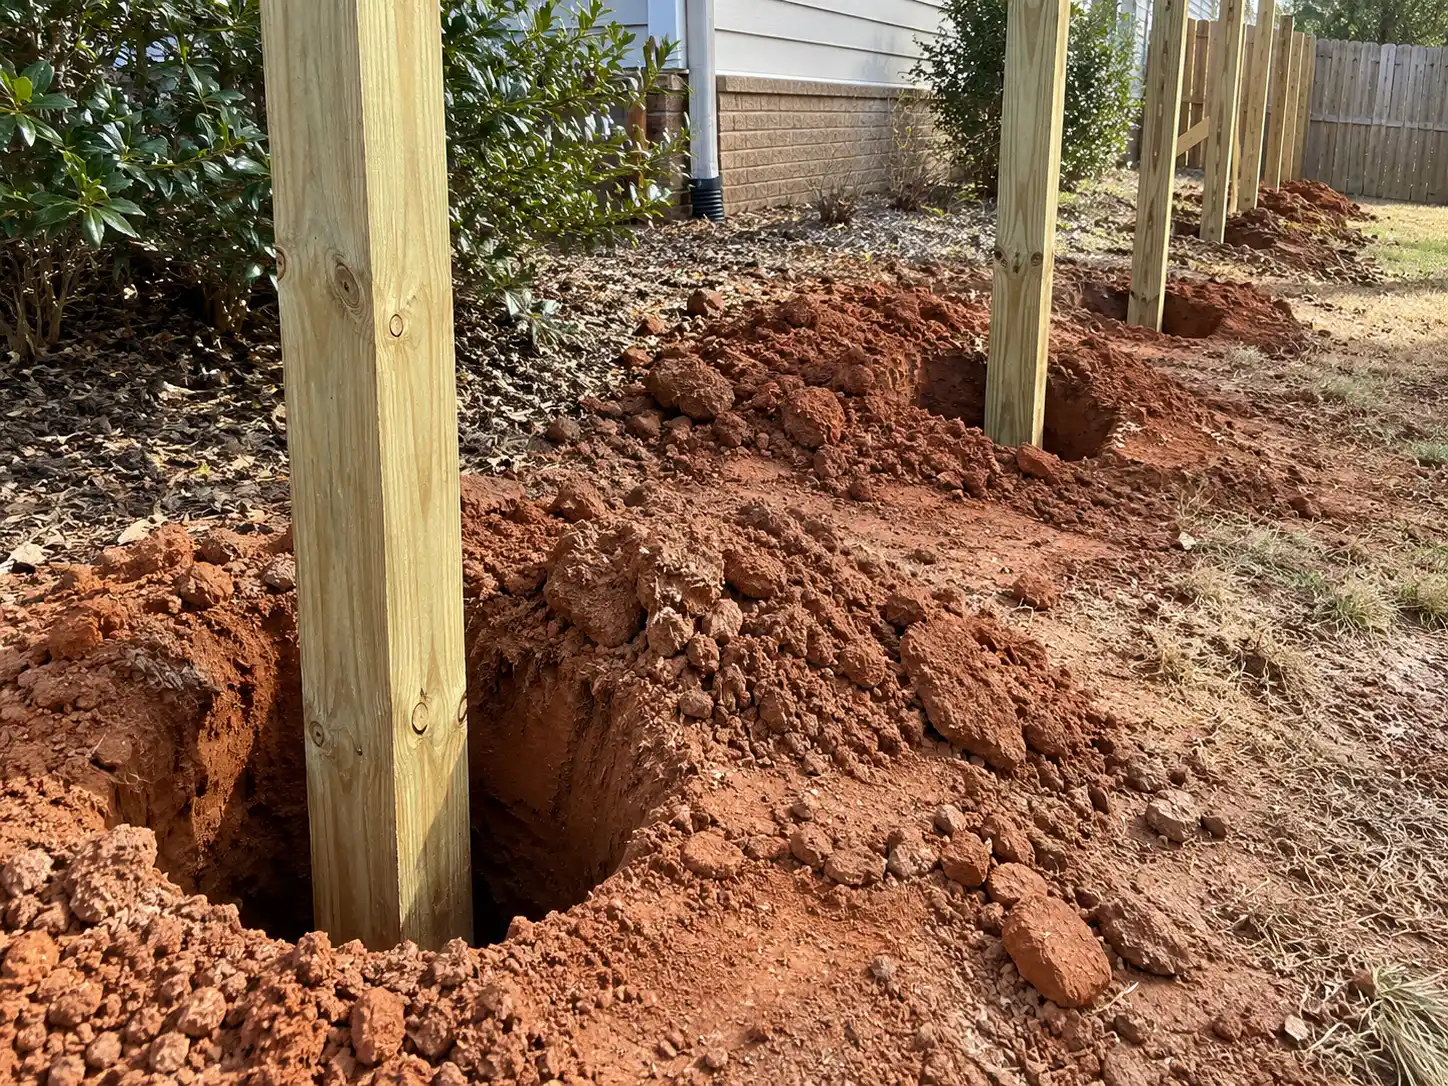 Concrete, gravel or steel: how we set fence posts in Puget Sound clay
How fence posts in clay soil survive Puget Sound wet stretches, and how we choose between concrete, gravel and steel footings for each fence line.
 Hiring & Costs
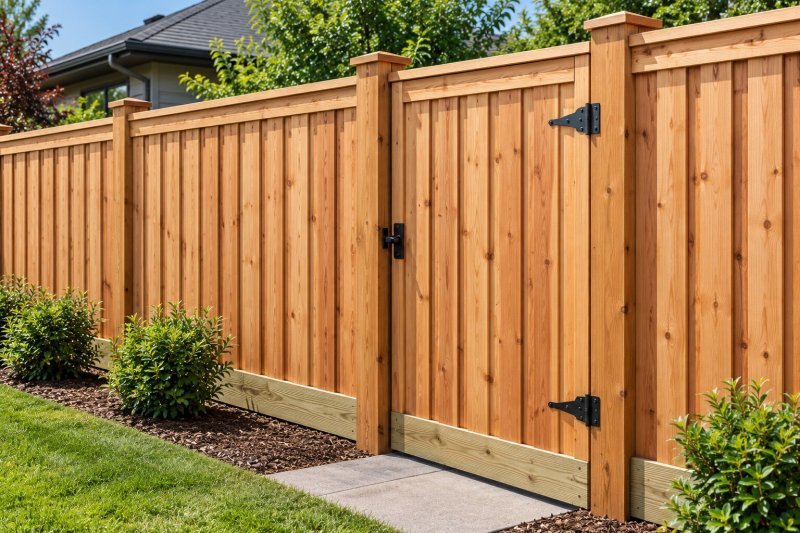
How to Check a Fence Contractor in Washington Before You Hire
Verify a Washington fence contractor in minutes: L&I registration, bond and insurance, what a written estimate should include, and the red flags to watch for.
Planning a fence?
Price it in a minute with the calculator, or send a few photos for a free written estimate.